

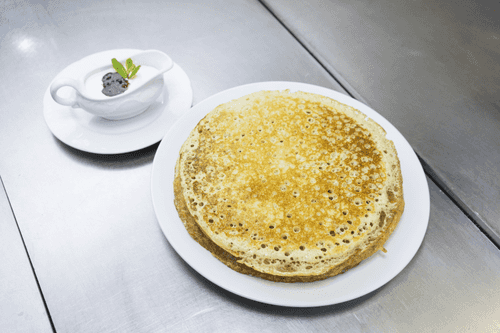
Yeast pancakes
6 servings
60 minutes
Traditionally, pancake dough recipes with the addition of yeast were especially popular in Russia. The author of "Russian Cookery" Vasily Levshin uses this feature to distinguish Russian pancakes from European crepes, where soda or soured milk was used instead of yeast . Yeast dough should be allowed to rise in a warm place - it should double in volume, become viscous and covered with bubbles. And after baking, each pancake should be coated with melted or butter: it will prevent the perforated delicate pancakes from sticking together, and they will remain soft and pleasant to the touch even the next day.
1
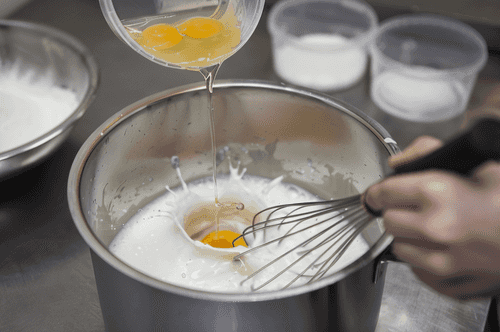
Add eggs to warm milk and start mixing. Without waiting for the yolk to break completely, add sugar and salt while continuing to stir the eggs. The warmer the milk, the faster and easier the sugar will dissolve, but it should not be hot to avoid cooking the eggs.
- Milk: 800 ml
- Chicken egg: 4 pieces
- Sugar: 110 g
- Salt: 10 g
2
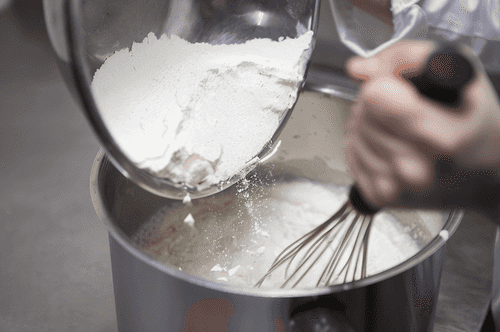
Add sifted high-grade wheat flour to the milk. This should be done slowly so that the flour gradually falls into the dough, not all at once. Mix the dough thoroughly to avoid lumps.
- Wheat flour: 400 g
3
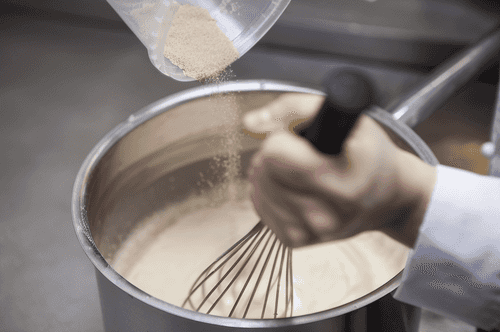
After 1 minute, add yeast to the dough. Mix the dough for another 5 minutes. To make it easier, you can use a mixer. After 5 minutes, the yeast will start working: the first bubbles will appear on the surface. Cover the container with foil and place it in a warm place for 30 minutes. It is advisable to place the dough near the stove so that the air temperature around the pot is higher than room temperature.
- Dry yeast: 10 g
4
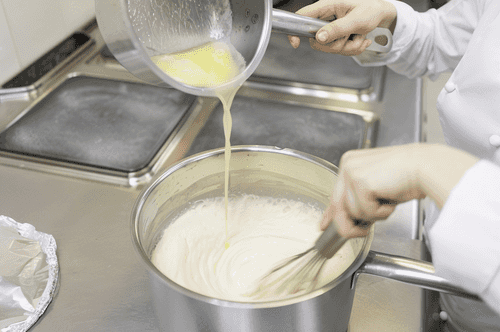
After that, add 160 grams of melted hot butter to the dough, mix it, and put the pot back in a warm place for 15 minutes.
- Butter: 200 g
5
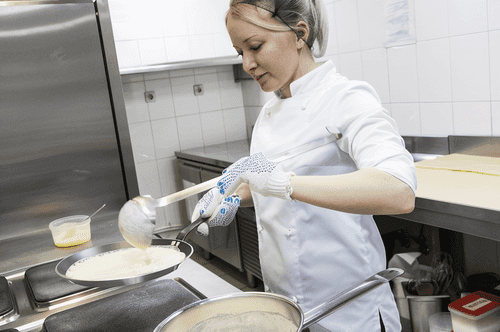
Finally, the dough is ready. By the time of frying, it should rise twice, become stretchy, and be covered with bubbles. Heat the pan well. Pancakes can be fried in both cast iron and Teflon pans — the main thing is that it is well heated. But ideal yeast pancakes will come out on a cast iron pan over gas. Scoop the dough with a ladle and pour it into the pan. It's better to hold the pan in the air while turning it from side to side so that the dough spreads evenly across the surface. Due to its thickness, the pancake may start to fry before covering the entire pan — so speed is important.
6
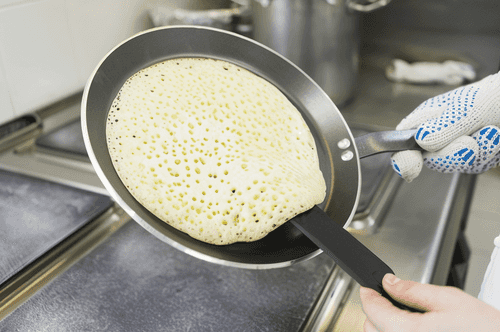
After 1-2 minutes, the surface of the pancake will be covered with holes, the edges will brown, and the surface of the batter will become matte and resemble wax. This means the pancake can be flipped. If the holes suddenly fill with batter again, do not flip the pancake: it is not cooked properly yet. Flip the pancake with a wide or long spatula so it doesn't flop in the air and tear. Fry the pancake in such a way that it only needs to be flipped once.
7
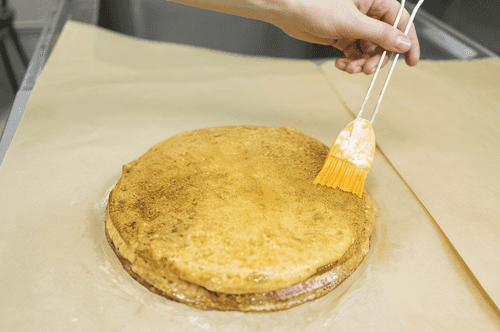
Place the ready pancakes one by one on a plate and, while they are hot, brush each with melted butter. The hot pancake will quickly absorb the hot oil and become even tastier. Additionally, after this procedure, the pancakes will dry out more slowly and will remain soft and pleasant to the touch even the next day.
- Butter: 200 g